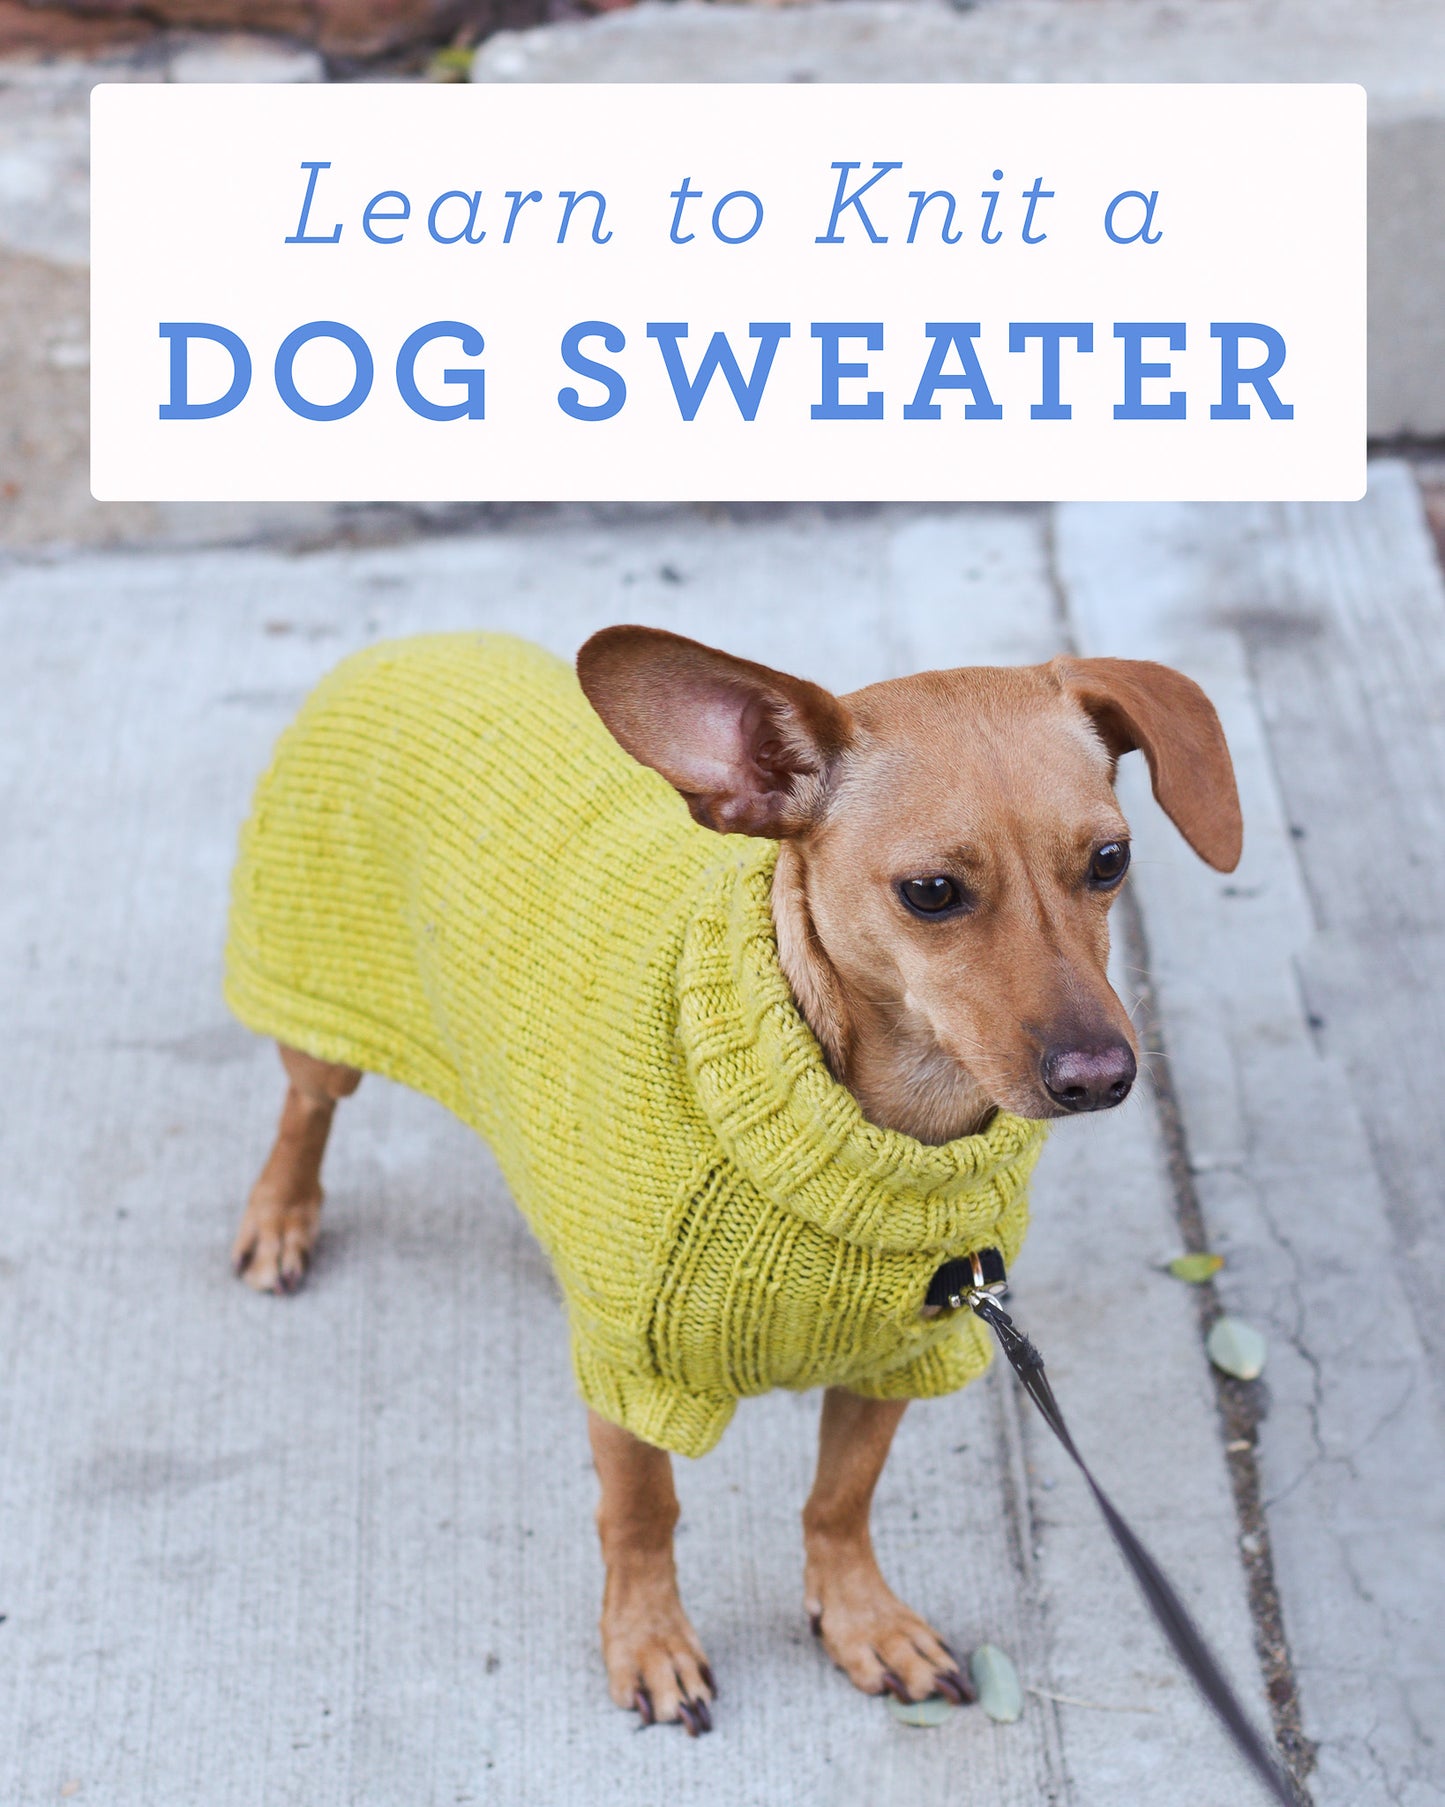
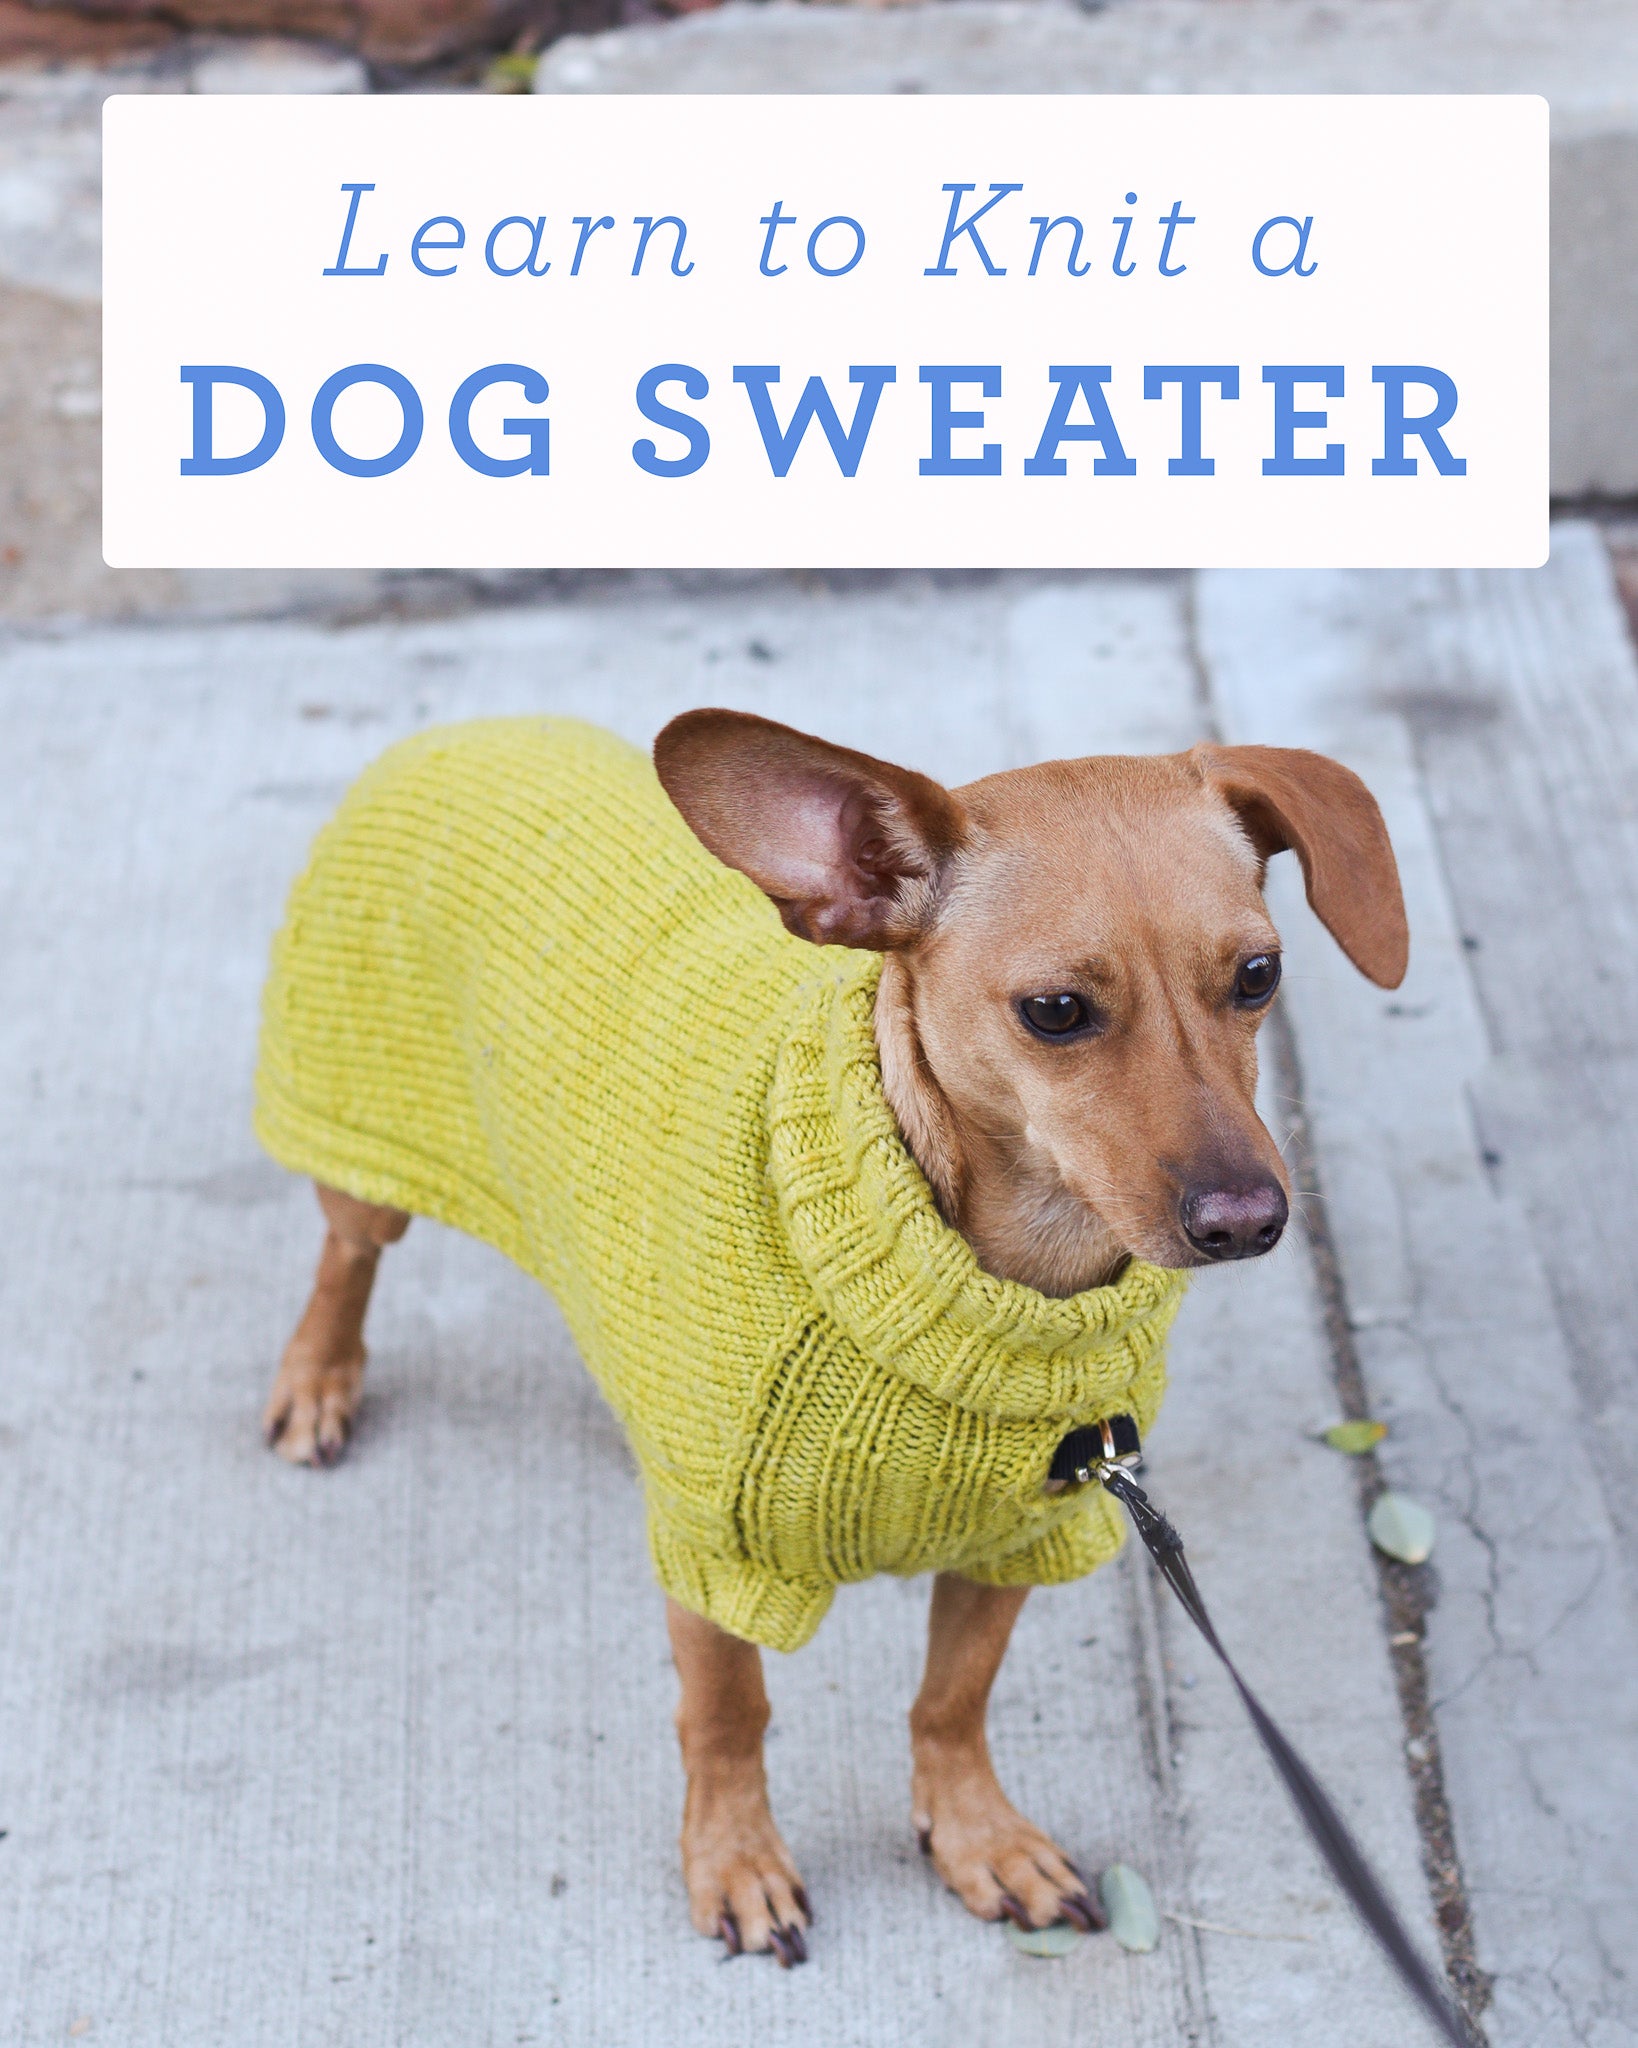
Learn to Knit a Dog Sweater
Learn to Knit a Dog Sweater
We teach this lesson plan at our recurring Intermediate & Advanced Knitting Class. Sign up for your first session here to get started on this project!
This is definitely one of our cutest workshops because it involves making adorable little sweaters for your adorable pet dogs! This five week workshop teaches you tons of new knitting techniques & you'll end the workshop with a cozy sweater for your dog made custom for them.
There will be knitting homework between each workshop session! Be prepared to work on your sweater at home between sessions. Some weeks will have more homework than others, and the larger your dog's sweater the more time you will need to dedicate between sessions. Please measure your dog's chest before the first class so you know what size to make! Refer to the pattern linked below for details on how to measure.
Unfortunately—devastatingly—dogs are not allowed in our shop due to us having a cafe (darn you NYC Heath Department!). But we will insist you show us photos of your dog in the first session, and then again so we can see them in their sweater at the end of the workshop!
REQUIRED PATTERN
Purl Soho's Lucky Dog Sweater by Sole Salvo ($9.00)
Students must purchase this pattern before or in the first session, it is not ours to sell or give away.
SKILL LEVEL
Advanced Beginner/Intermediate. As long as you know everything in the Required Experience section below, you're ready to take this class!
You can read about how we determine skill levels here.
REQUIRED EXPERIENCE
You must be comfortable with casting on, the knit stitch, the purl stitch, and working in a rib. Knowing how to work in the round, increase, or decrease are all helpful techniques to know but not required.
WHAT YOU WILL LEARN
All students will learn: how to read a pattern, make one increases, the cable cast on, casting on in the middle of a row, using markers, putting stitches on hold to make leg holes, left- and right-slanting decreasing, and short rows (either wrap & turns, or german short rows).
Each student will also have the opportunity to learn any of the following if they are interested: a tubular cast on for 2x2 ribbing, customizing your sweater by adding a stitch pattern, stripes, or harness holes on the back or chest, adjusting for best fit, customizing the collar & legs, tubular bind off.
REQUIRED TOOLS - available for purchase at the shop
- US 7, 8, or 9 / 4.5, 5, or 5.5 mm 16" circular needles, or whatever gets you close to the correct gauge of 19 sts per 4" in stockinette stitch. The pattern recommends a US 6 but most people get this gauge on a US 8. We don't recommend getting a US 6 unless you're a particularly loose knitter.
- If you're knitting the largest sweater size you will need a 24" circular needle as well as a 16" needle.
- All students will also need either double pointed needles (we recommend the FlexiFlips for ease of use; they are expensive but, in our opinion, very worth it), or 32–40" circulars for magic loop in the same needle size.
- 4 stitch markers, 1 unique for beginning of round.
- stitch holder, barber cord, or scrap yarn (we can provide scrap yarn in class if needed)
REQUIRED MATERIALS
200–800 yards of worsted weight yarn, depending on the size you are making. Refer to the pattern linked above to see the recommended amount for each size sweater. We highly recommend getting a machine washable yarn. We have several great options we can show you in the shop!
LESSON PLAN:
Session 1 (2 hours): Choosing a size, selecting your yarn, casting on (either long tail, or tubular), tubular cast on set up rows (optional), working in a rib, make one increases, planning to modify fit & style (optional).
Session 2 (1 hour lesson, 1 hour optional work time without instructor): Cable cast on, joining to work in the round, customization troubleshooting (optional).
Session 3 (1 hour lesson, 1 hour optional work time without instructor): Putting stitches on hold, working back & forth to make leg holes, back harness hole placement (optional).
Session 4 (2 hours): Joining to work in the round again, decreasing, short rows, chest harness hole placement (optional).
Session 5 (2 hours): neckline ribbing, tubular bind off (optional), picking up stitches for legs, working on double pointed needles or using magic loop to make legs, finishing techniques.